Simulations
Navigate through simulations.
Managing Simulations
To access the Simulations section, click on Simulations in the navbar.
The Simulations view contains all the simulations you have configured, and the result of their last run.

If you don’t have any simulations configured yet and don’t know how to start, you can download some Gatling Enterprise pre-configured projects by clicking on the “Download sample simulations” green button.

Those samples are ready to use maven, sbt and gradle projects with proper configuration for Gatling Enterprise. You can also download those samples with the download link in the Documentation section.
Back to the Simulations section, at the top, there is an action bar which allow several actions:
- Create a simulation
- Search by simulation or team name
- Edit global properties
- Delete selected simulations

Global Properties
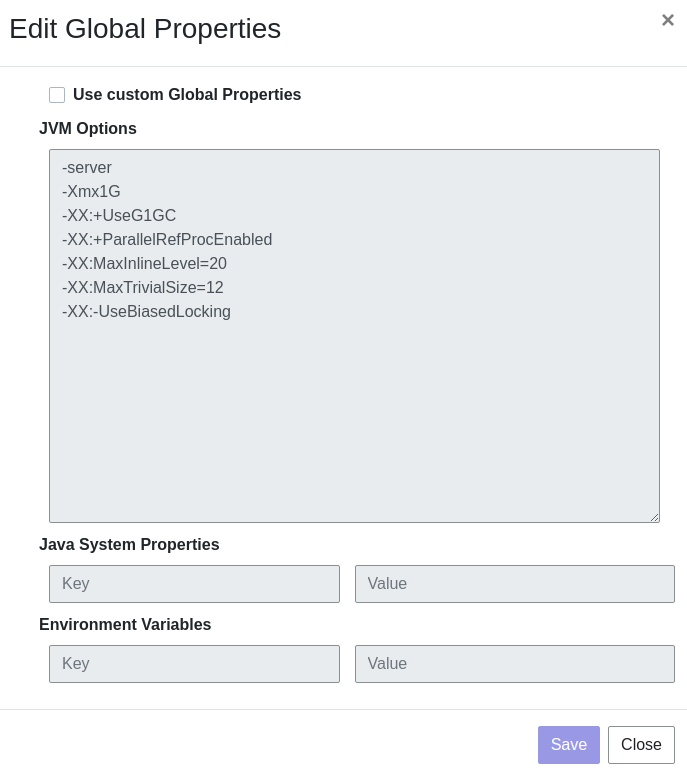
Global properties contains every JVM options, Java System Properties and environment variables used by all of your simulations by default. Editing those properties will be propagated to all the simulations.
If you don’t want to use the default properties, check Use custom global properties and enter your own.
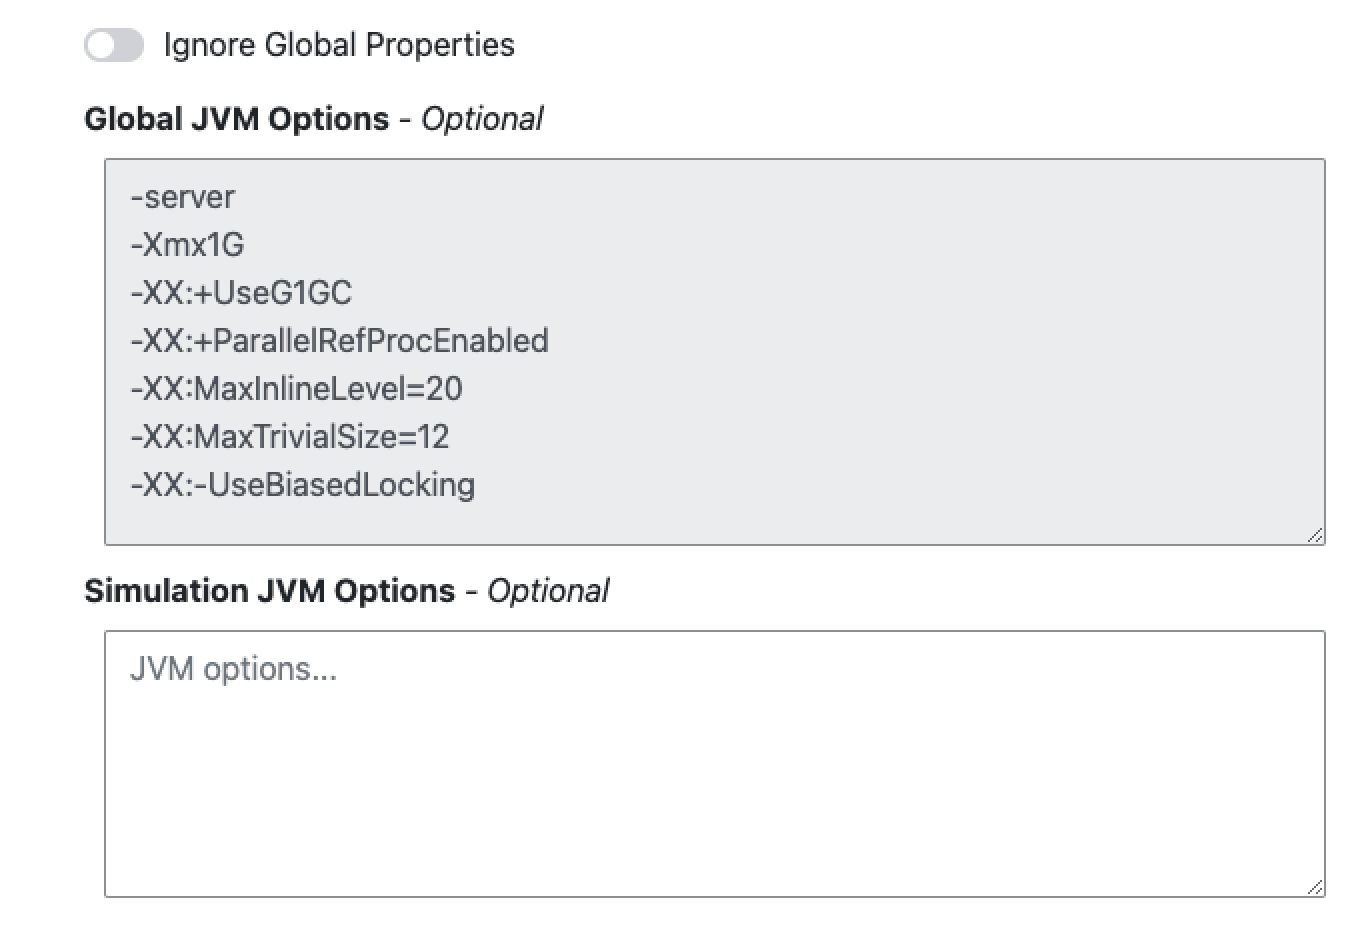
If you want specific properties for a simulation, you will be allowed to ignore those properties by checking the Override Global Properties box when creating or editing the simulation:
Creating a simulation
In order to create a simulation click on the “Create” button in the simulations table. There are 6 steps to create a simulation, 3 of which are optional.
Step 1: General
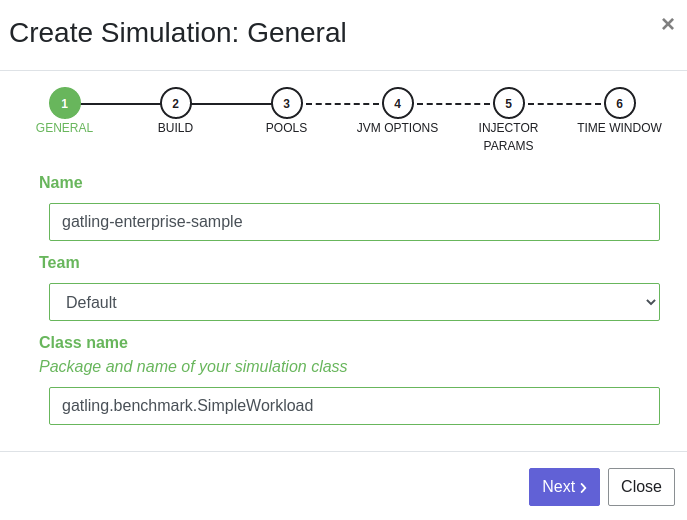
- Name: the name that will appear on the simulations table.
- Team: the team which owns the simulation.
- Class name: the package and the name of your simulation scala class in the project that you want to start.
Step 2: Build configuration
In this step, you’ll describe which repository Gatling Enterprise will use, and how to use it.
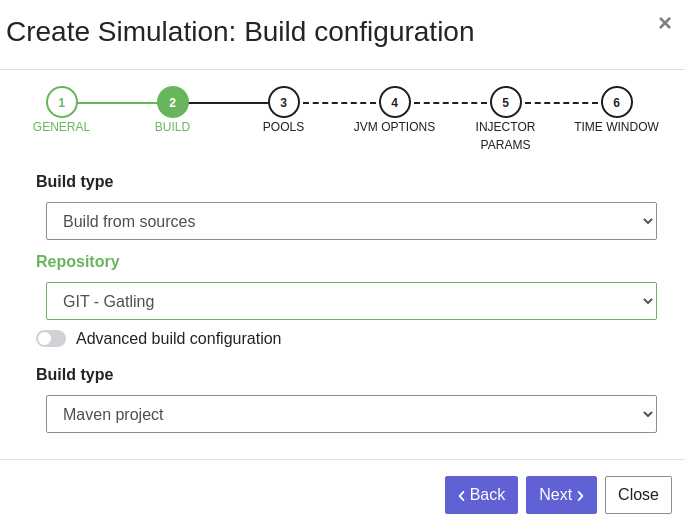
- Build type: How you want to retrieve and build your simulation. You may choose to build from sources, download a binary from a Sonatype Nexus or JFrog Artifactory repository, or download a binary from an AWS S3 bucket.
- Repository: The repository you created previously
Option 1: Build from sources
In this step, Gatling Enterprise will download the sources from your repository, and compile them.
-
Build command: the command to build your project. Three common commands are built-in for projects whose build tools configuration follow our installation guide:
mvn clean package -DskipTests --quietfor maven projectsbt -J-Xss100M ;clean;test:assembly -batch --errorfor sbt projectgradle clean frontLineJar -quietfor gradle project
Please make sure that the tools you are using are installed and available on the Gatling Enterprise machine, for example:mvn,sbt,git, andssh.In addition, two wrapper commands are built-in, if you prefer to use a build tool wrapper script included in your project rather than a version of the build tool installed on the Gatling Enterprise machine. The commands are otherwise the same as the regular commands for the same build tools.
- Use the Maven Wrapper command if your project includes an
mvnwscript (see the official Maven documentation to configure your project) - Use the Gradle Wrapper command if your project includes a
gradlewscript (see the official Gradle documentation to configure your project)
You can provide optional settings if you toggle Advanced build configuration.
- Relative path: the path to your simulation project in your repository (eg the Gatling simulation is not at the root of your git)
- Environment variables: the environment variables to be used along the build command. You can add as many environment variables as you want
- Git Branch or Tag: if you’re using a git repository, you may specify another branch or tag than the one configured in the repository configuration
Option 2: Download binary from repository
In this step, you’ll describe how Gatling Enterprise will download a jar deployed in a previously added repository. This jar must have been built with the same maven/sbt/gradle configuration as described in the Developer section in this guide.
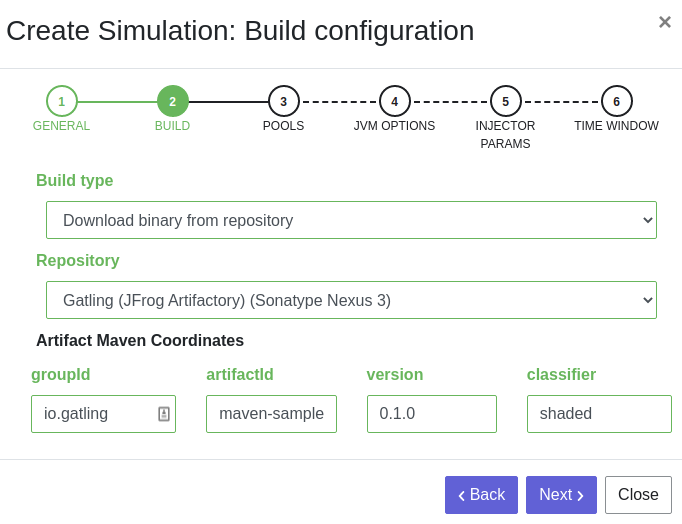
- Artifact Maven coordinates: the maven coordinates of the desired artifact.
The following version markers can be used:
latest.integration: latest version with snapshots includedlatest.release: same with snapshots excluded
Option 3: Download binary from AWS S3
In this step, you’ll describe how Gatling Enterprise will download a jar deployed in an AWS S3 bucket. This jar must have been built with the same maven/sbt/gradle configuration as described in the Developer section in this guide.
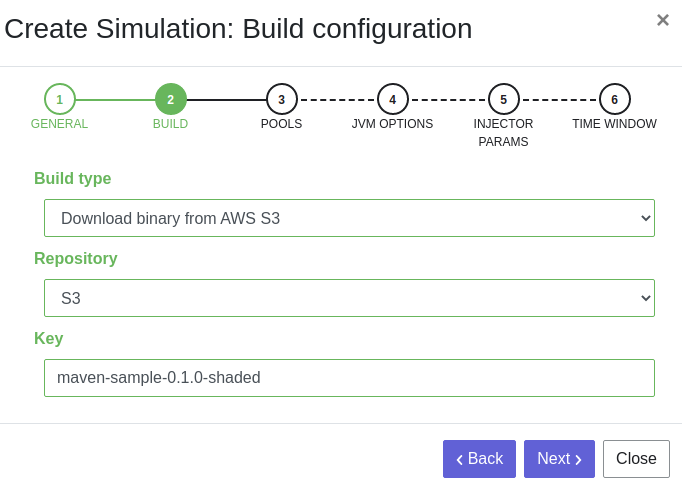
- Key: the key for the jar you want to download
Step 3: Pools configuration
In this step, you’ll configure the pools used for the Gatling Enterprise injectors.
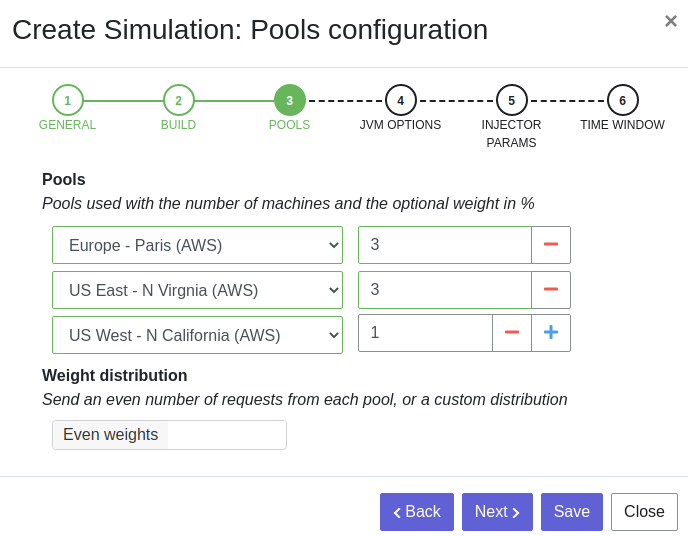
- Weight distribution: on even, every injector will produce the same load. On custom, you have to set the weight in % of each pool (eg the first pool does 20% of the requests, and the second does 80%). The sum of the weight should be 100%.
- Pools: defines the pools to be used when initiating the Gatling Enterprise injectors, see the section about pools. You can add many pools with a different number of hosts to run your simulation. If you have more hosts than needed on your Pool, the hosts will be chosen randomly between all hosts available in this Pool.
After this step, you can save the simulation, or click on More options to access optional configuration.
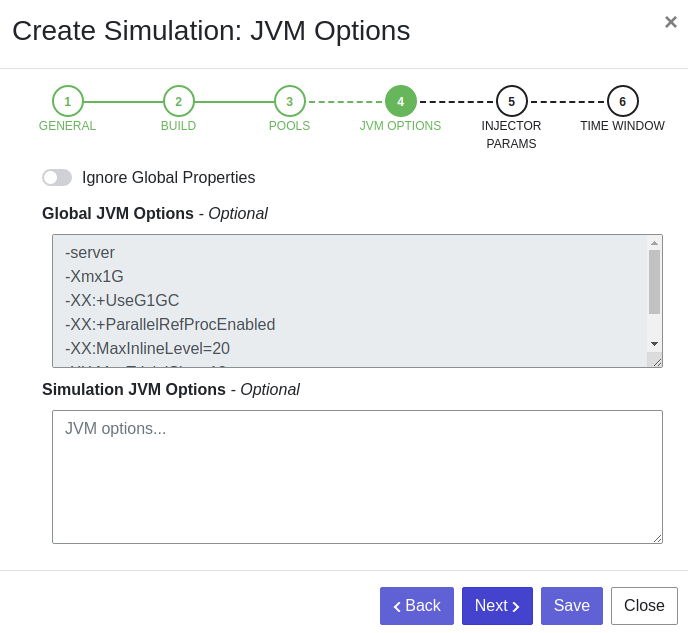
Step 4 & 5: JVM options & Injector parameters
These steps allow you to define JVM arguments, Java System Properties and environment variables used when running this particular simulation. You can choose to override the global properties.
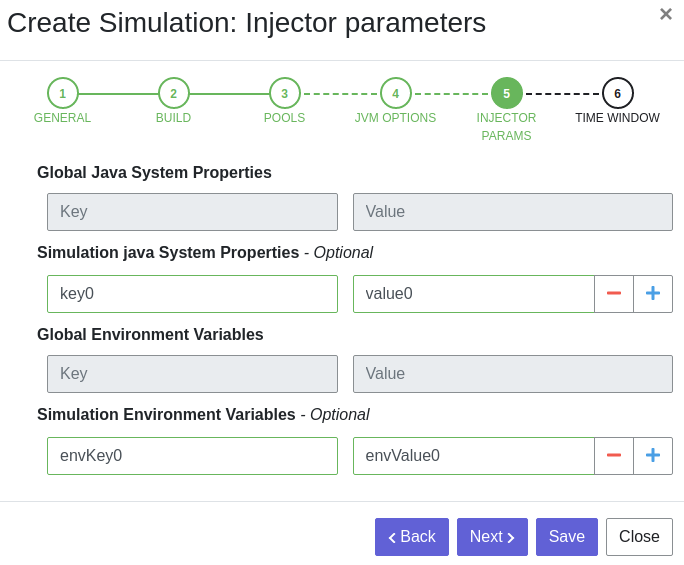
sensitive., and environment variables if you prefix them with SENSITIVE_.gatling.enterprise.groupedDomains System property to group connection stats from multiple subdomains and avoid memory issues when hitting a very large number of subdomains.
For example, setting this property as .foo.com, .bar.com will consolidate stats for sub1.foo.com, sub2.foo.com, sub1.bar.com, sub2.bar.com into *****.foo.com and *****.bar.com.Java System properties can be retrieved in your Gatling simulation with System.getProperty("YOUR_PROPERTY_KEY").
Environment variables can be retrieved in your Gatling simulation with System.getEnv("YOUR_ENV_VAR_KEY").
Step 6: Time window
Configure some ramp up or ramp down time windows to be excluded when computing assertions. This is typically useful when you know that at the beginning of your test run you’re going to expected higher response times than when your system is warm (JIT compiler has kicked in, autoscaling has done its work, caches are filled…) and don’t want them to cause your assertions to fail.

- Ramp Up: the number of seconds you want to exclude at the beginning of the run.
- Ramp Down: the number of seconds you want to exclude at the end of the run.
Simulations table
Now that you have created a simulation, you can start it by clicking on the icon in the Start column of the table.

A run have the following life cycle:
- Building: in which it will download the simulation artifact and prepare the hosts
- Deploying: in which it will deploy the simulation to run on all the hosts
- Injecting: in which the simulation is running and viewable from the Reports

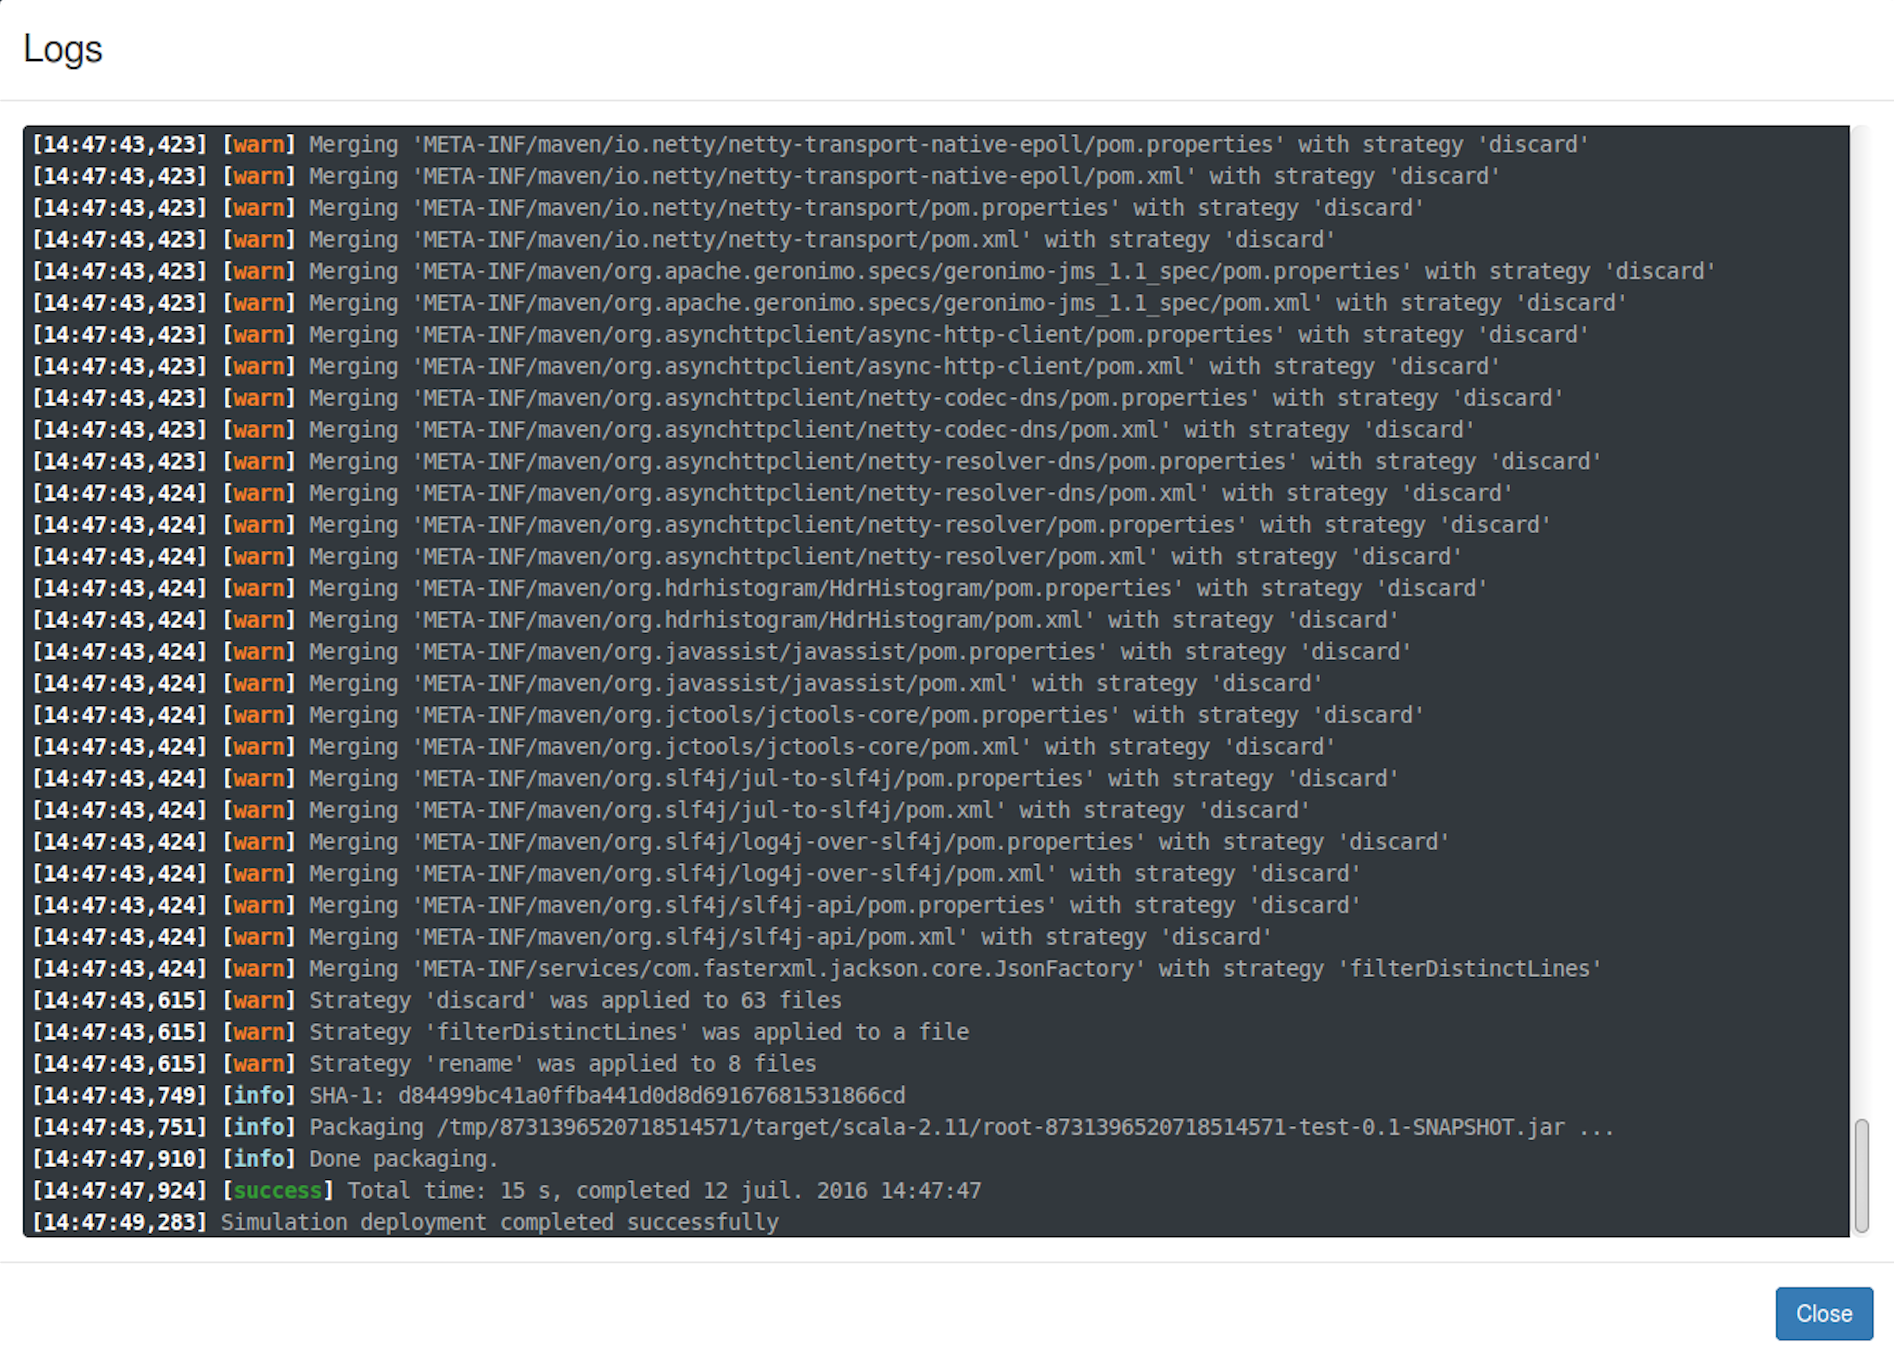
Logs
By clicking on the icon in the Build Start column, Gatling Enterprise will display the build logs of the simulation. There is a limit of 1000 logs for a run.
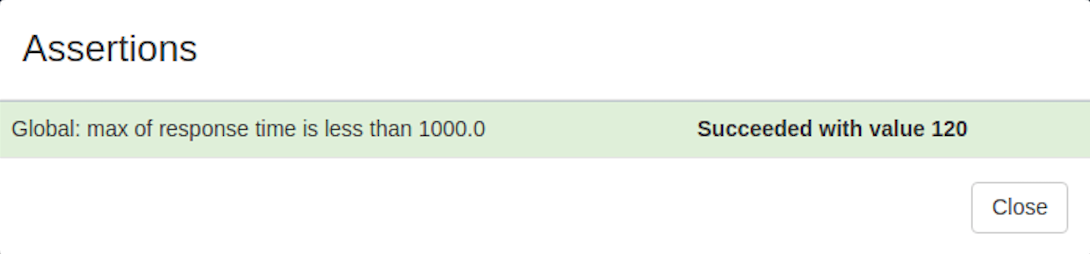
You can click on the icon next to the status (if there is one) to display the assertions of the run. Assertions are the assumptions made at the beginning of the simulation to be verified at the end:
Useful tips
- You can edit the simulation by clicking on the icon next to his name
- You can search a simulation by his name, or its team name
- You can sort the simulations by any column except the Start one
- A Delete button will appear on the action bar when you select a simulation, you will be able to delete all the selected simulations
- When a simulation is running, you can stop the run by clicking on the Abort button
- You can copy a simulation ID by clicking on the icon next to his name
Be aware that deleting a simulation will delete all the associated runs.